Do. Or Do Not. There is No Try
Couldn't load pickup availability
Description
Framed Canvas
By Thomas Kinkade Studios
Size: 12 x 18
Framed Size: 18 x 24
Certificate of Authenticity Included
IMAGE NOTES
The Rebellion Forces have escaped the Imperial Starfleet’s
discovery of their new base on the ice world of Hoth™. Luke
Skywalker™ has told R2-D2™ that they are not headed to
the Rebellion rendezvous point but are traveling to the
Dagobah™ System. Obi-Wan Kenobi™ has told Luke: “You
will go to the Dagobah System. There you will learn from
Yoda™. The Jedi™ Master who instructed me.”
Emperor Palpatine™ has told Darth Vader™ that there is a
great disturbance in the Force, and the enemy is the young
rebel who destroyed the Death Star™. This young rebel is
the son of Anakin Skywalker™, and the Force is strong with
this one.
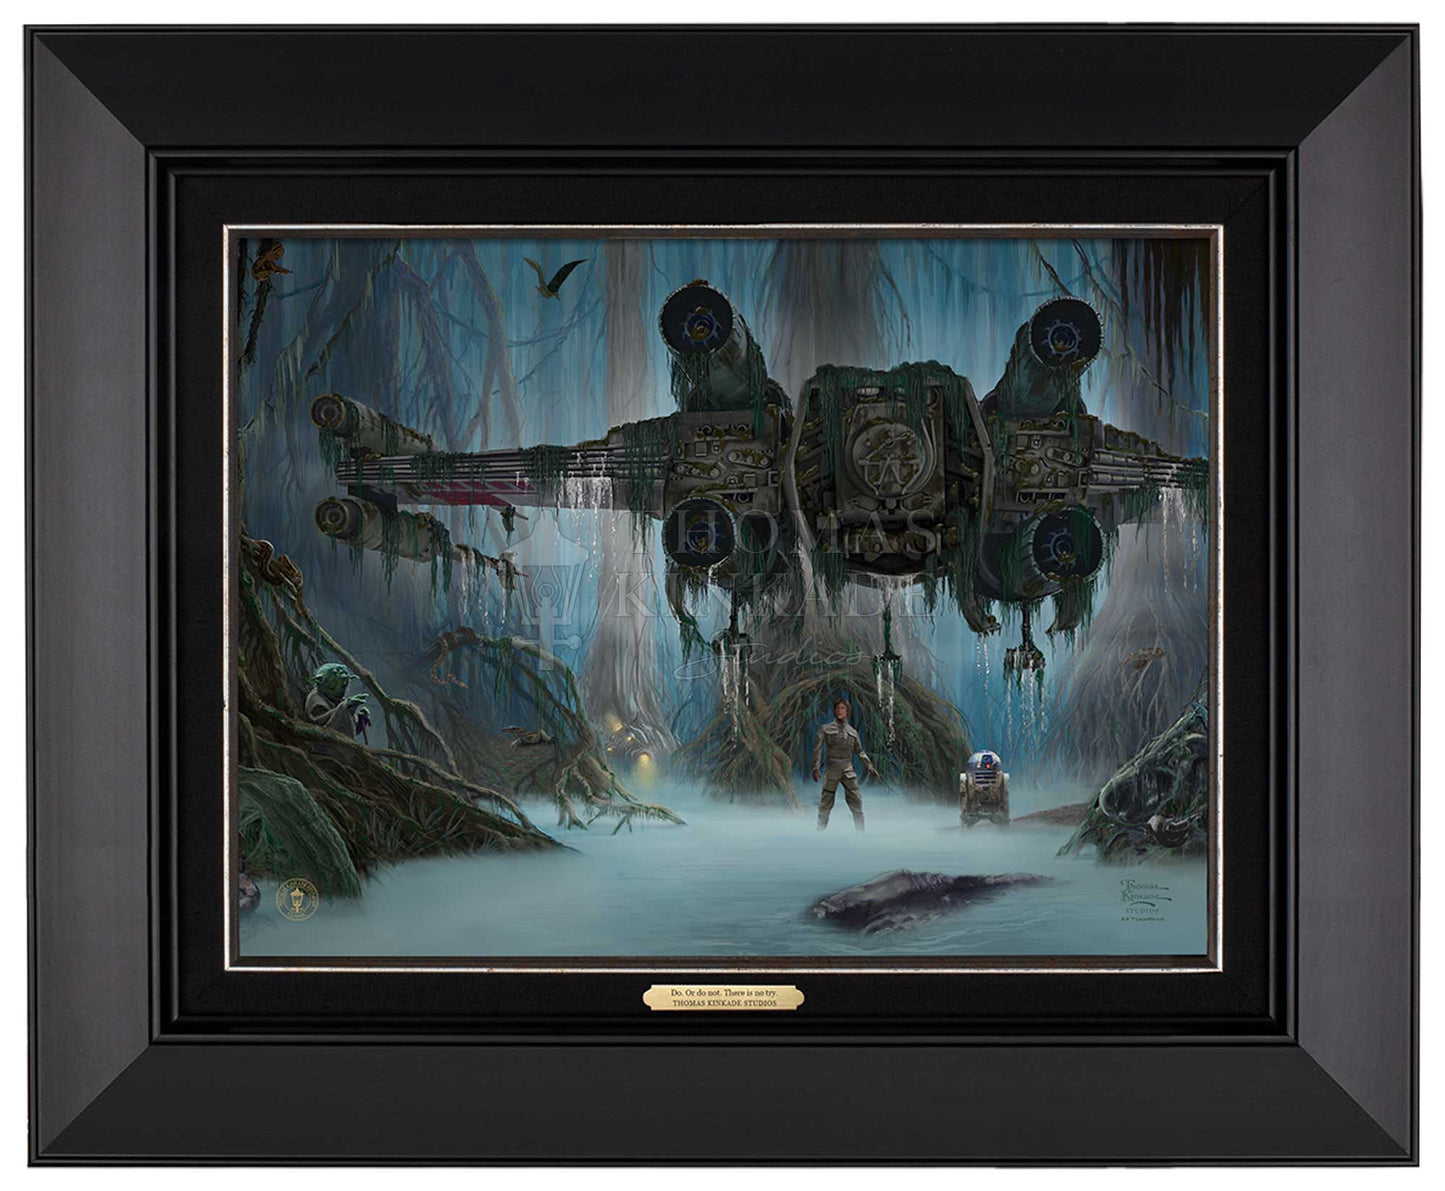
During their initial meeting, Yoda states that he cannot
teach the boy, as Luke has no patience and is too old. Obi-
Wan reminds Yoda that Luke will learn patience. “Will he
finish what he begins?” asks Yoda. After an intense training
session, Luke’s X-Wing slips deeper into the swamp where
he landed. Luke’s attempt to lift his fighter out and onto
drier land fails, and it slips completely under the murky
water. After Luke has turned away in frustration, Yoda uses
the Force and deftly lifts the X-Wing out of the swamp and
onto drier land. “I don’t believe it!” says Luke. “That is why
you fail,” replies Yoda.
Luke must always remember that his greatest ally is the
Force. Thomas Kinkade Studios is pleased to present
Do. Or do not. There is no try.